ExView Modification - Step Three
Disabling the Amplifier
If you examine the long exposures produced by the mods you've done so far, you may notice that the top left corner seems brighter than the rest of the image, and may be completely overexposed. This is caused by 'electroluminescence' - a weak infrared emission - from the amplifier inside the CCD chip, which converts the accumulated signal to a voltage which can be output from the chip. Normally the electroluminescence from the amplifier is insignificant, but in a long exposure the effect is cumulative and causes the overexposure just mentioned.
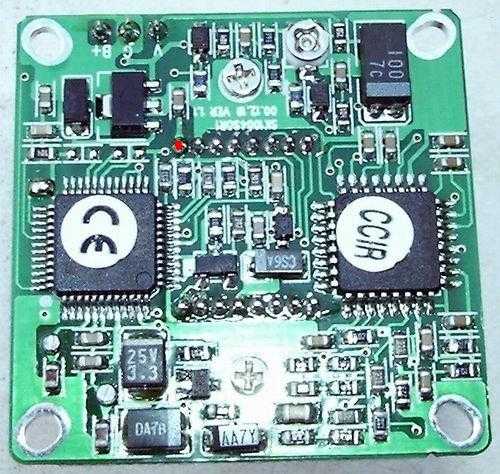
In order to prevent this effect we need to disable the amplifier during long exposures. Unfortunately the CCD in this camera (ICX255AL) does not have separate power lines for the amplifier, so I've had to resort to a dirty trick. If the voltage supplying the CCD is reduced, the amplifier appears to shut down before the part of the chip that is responsible for charge accumulation. So by inserting an appropriate resistor (and smoothing capacitor) in series with the power input Pin 9 of the CCD we can effectively disable the amplifier. I found that a 10K resistor with a 0.1uF capacitor in parallel worked well. This needs to be switchable so that the amplifier can be re-enabled prior to reading the data out of the CCD.
When I did this modification I had already removed the CCD from the PCB to allow it to be cooled. You will need to cut through pin 9 of the CCD and solder a wire to it. Solder another wire to the rear of the PCB, where the remains of pin 9 protrude from the back. This is marked in red on the picture below. Connect the resistor and capacitor and, for testing purposes, a switch all in parallel, and conect this assembly between the two wires you've just attached to the camera.
Now, if you run the camera with the new switch closed it should behave as normal. Opening the switch will produce a black display, closing it will restore the image. You may notice some bright bands when opening or closing the switch - this is normal.
To produce a long exposure without the bright top left corner, you'll need at least three hands! Darken the room, open the Pin5 switch, then close the CCDPin2 and open the CCDPin9 switches. Wait for a while, then close the Pin9 switch to enable the amplifier. Allow about a second for the voltage to stabilise, then close the Pin5 switch to see one set of scanlines, then open the Pin2 switch to see the other set. If you like, you can merge them to produce a single 640x480 image, as before. You should notice the top left corner is not washed out like it was before.
Example results... - or - Further modifications... - or -
Back to step two